User story: User stories are short, simple descriptions of a feature told from the perspective of the person who desires the new capability, usually a user or customer of the system. [Mike Cohn]
A common format for writing user stories is:
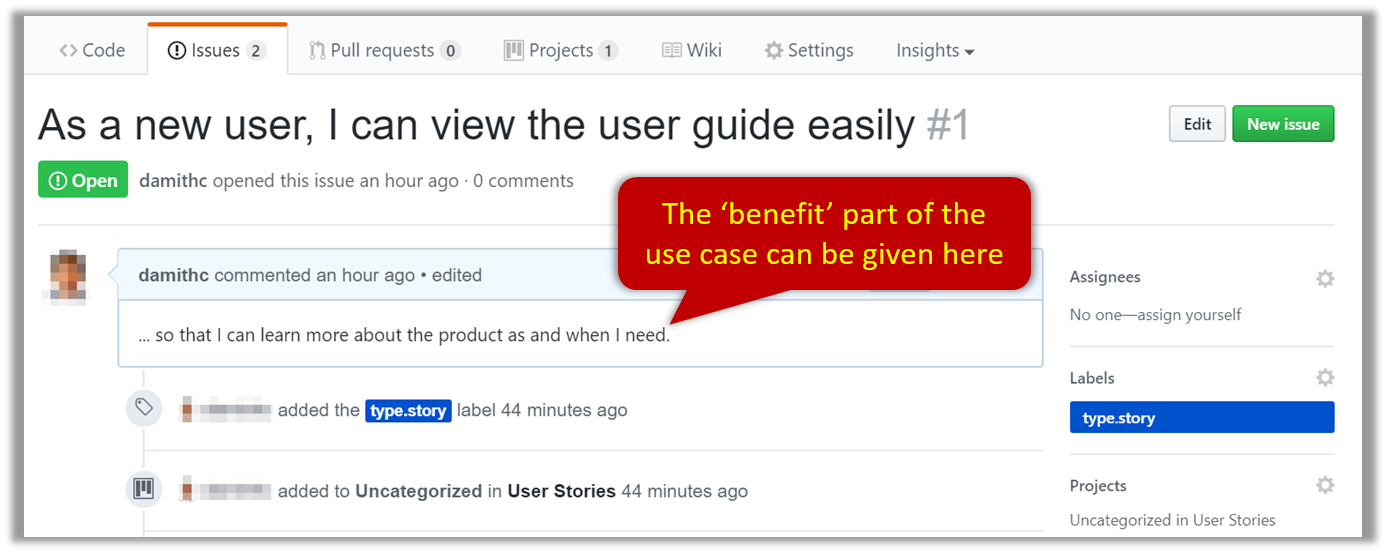
User story format: As a {user type/role} I can {function} so that {benefit}
Examples (from a Learning Management System):
- As a student, I can download files uploaded by lecturers, so that I can get my own copy of the files
- As a lecturer, I can create discussion forums, so that students can discuss things online
- As a tutor, I can print attendance sheets, so that I can take attendance during the class
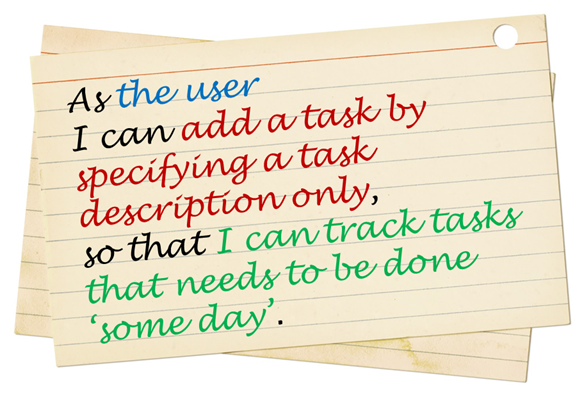
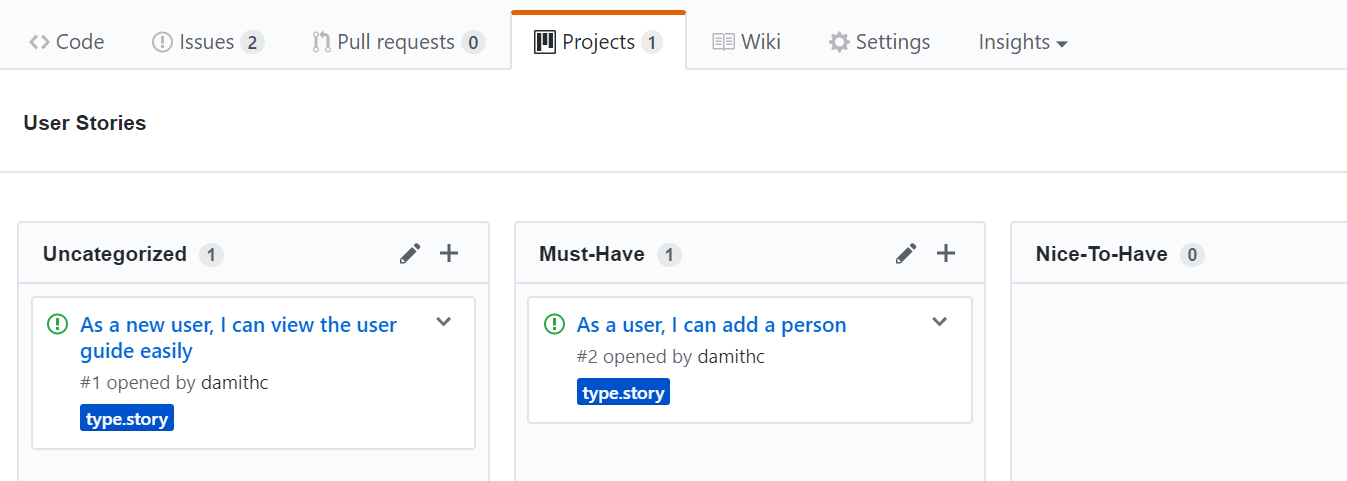
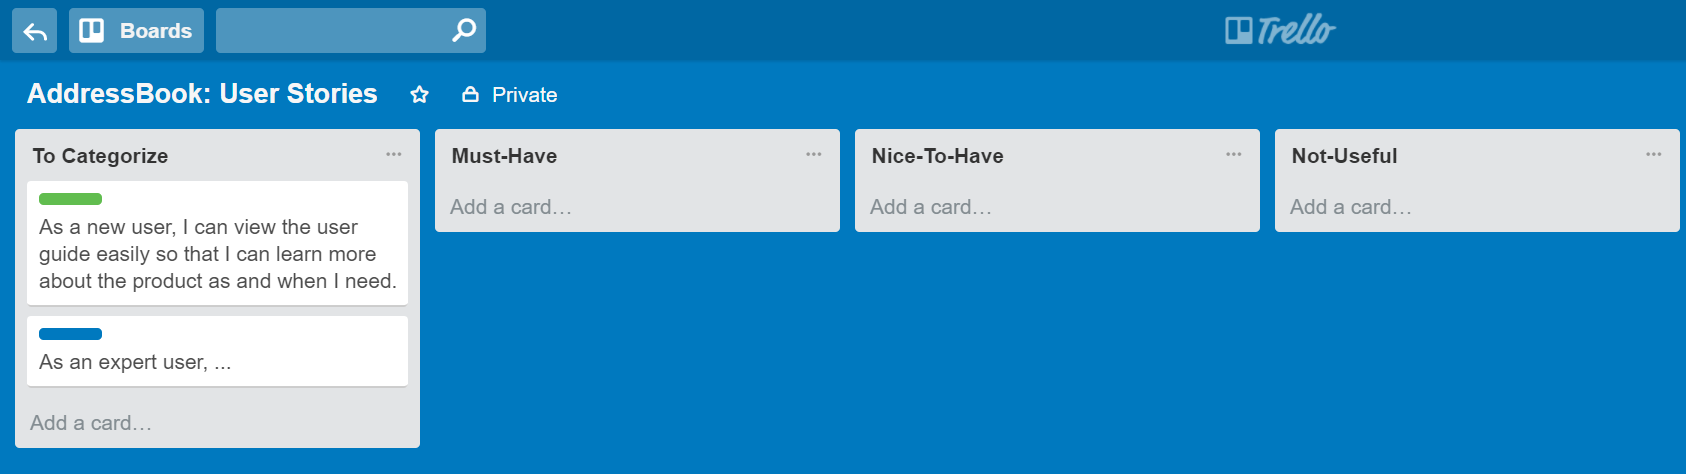
We can write user stories on index cards or sticky notes, and arrange on walls or tables, to facilitate planning and discussion. Alternatively, we can use a software (e.g., GitHub Project Boards,
Trello, Google Docs, ...) to manage user stories digitally.

[credit: https://www.flickr.com/photos/jakuza/2682466984/]

[credit: https://www.flickr.com/photos/jakuza/with/2726048607/]
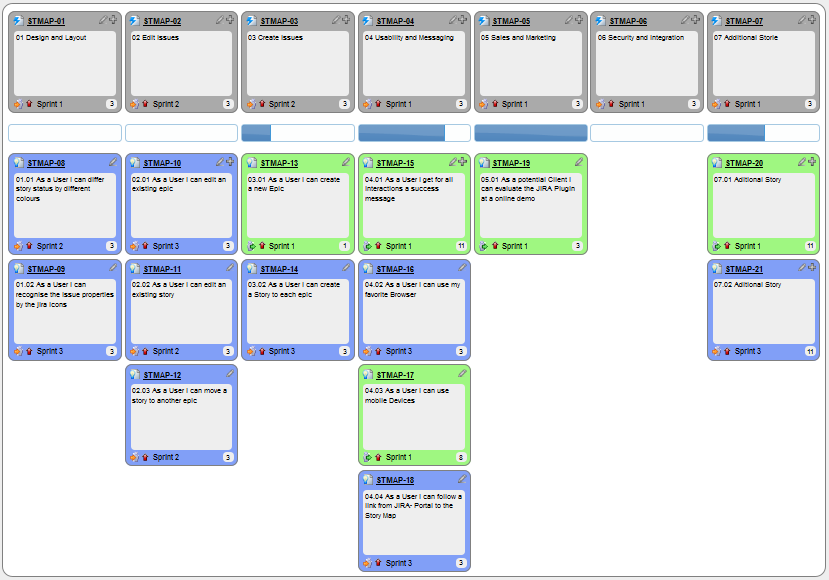
[credit: https://commons.wikimedia.org/wiki/File:User_Story_Map_in_Action.png]
Critique the following user story taken from a software project to build an e-commerce website.
As a developer, I want to use Python to implement the software, so that we can resue existing Python modules.
Refer to the definition of a user story.
User story: User stories are short, simple descriptions of a feature told from the perspective of the person who desires the new capability, usually a user or customer of the system. [Mike Cohn]
This user story is not written from the perspective of the user/customer.
Bill wants you to build a Human Resource Management (HRM) system. He mentions that the system will help employees to view their own leave balance.
What are the user stories you can extract from that statement?
Remember to follow the correct format when writing user stories.
User story format: As a {user type/role} I can {function} so that {benefit}
As an employee, I can view my leave balance, so that I can know how many leave days I have left.
Note: the {benefit} part may vary as it is not specifically mentioned in the question.

